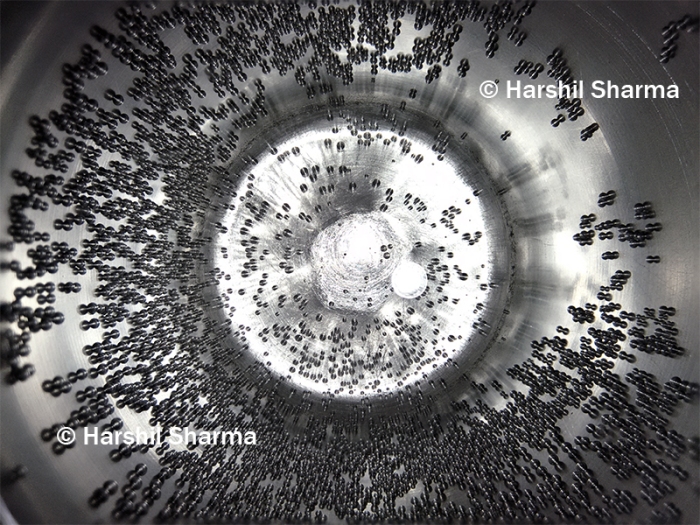
Focus Stacking is a technique where you take multiple photos of the same scene with different parts in focus and then combine them into a single image with everything (or whichever parts you want) in perfect focus. It may sound complex to do but is actually very simple to do in Photoshop.
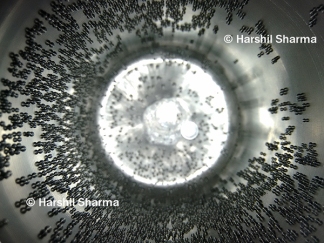
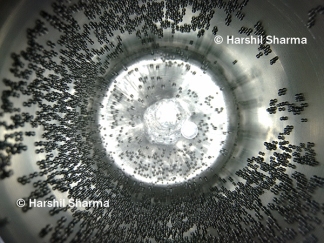
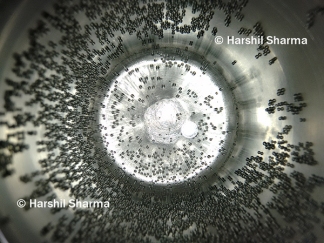
Lets see how we can perform focus stacking. I have three images with me, each having a slightly different area in focus.
If you open these images you’ll see that the first image has the outer part of image in focus, second image has middle and third image has central part in focus. We’ll now see how to perform focus stacking on these images. I’ll use Photoshop CC for this but the steps should be same for older versions too.
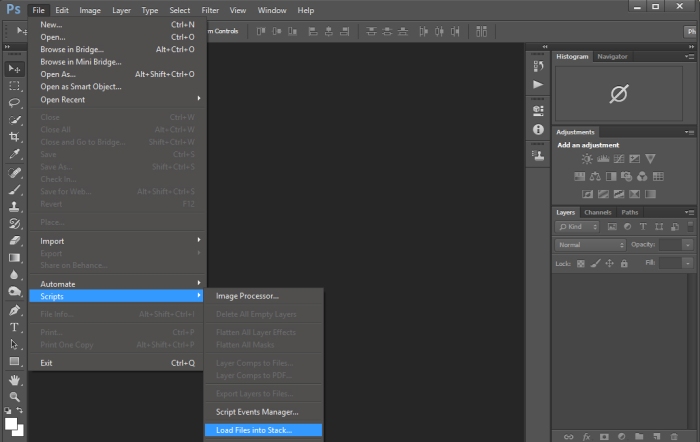
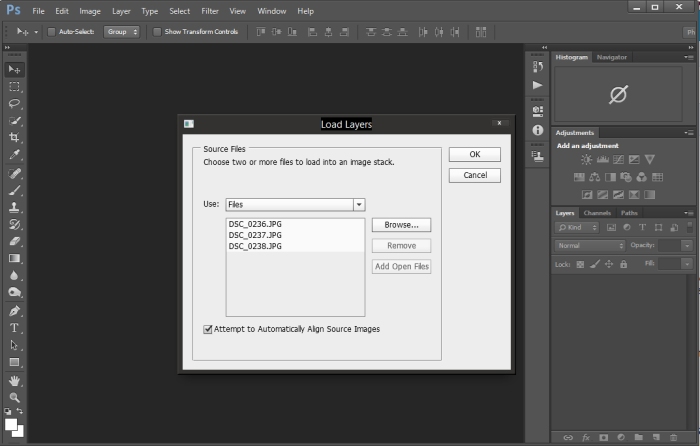
Step 1 – Open Photoshop, choose File > Scripts > Load Files Into Stack… and choose the photos that you want to stack. Make sure to check the “Attempt to automatically align source images” at the bottom of the dialog box. This option aligns images in case there was a slight movement of the camera. Click Ok.
Photoshop will now open the images and load them int a stack.
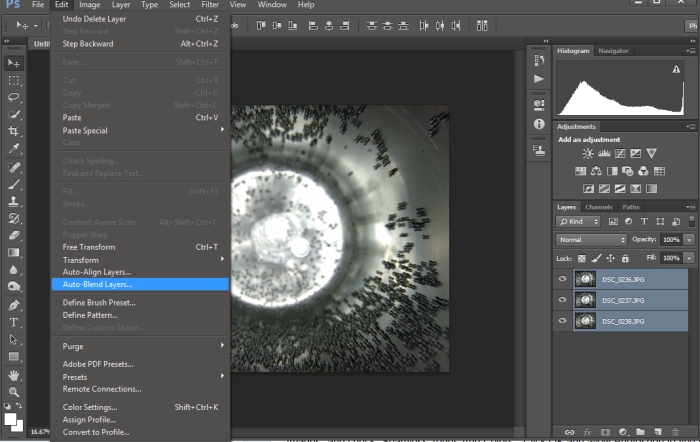
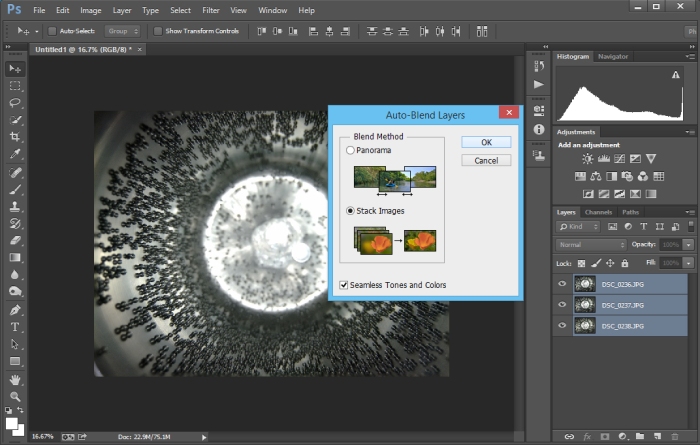
Step 2 – Now select all layers from layers panel and choose Edit > Auto-Blend Layers…. Select “Stack Images” and check “Seamless Tones And Colors”. Click OK and allow Photoshop to find the areas in focus in each layer.
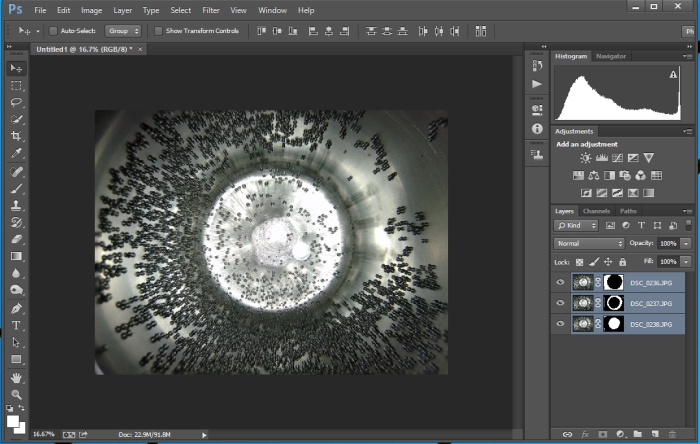
You’ll now see that Photoshop has applied a mask on each layer. This mask generated by Photoshop is used to display only in-focus areas from each layer. Manually creating such mark would have been a difficult job if there were dozens of images.
Final image –
You can now flatten layer and save the stacked image in your favorite format.
