CyanogenMod is a highly modified distribution of Android operating system. It’s based on AOSP, is available for a wide variety of phones and includes features not found in other Android distributions. If you have an Android phone and you don’t flash CyanogenMod (or any 3rd party ROM) on it, then you aren’t using your phone to its full potential. CyanogenMod offers numerous advantages; both performance wise and feature wise. So many, that it you’ll almost feel like using a new phone. I’ll be writing another post about the various features and advantages of this.
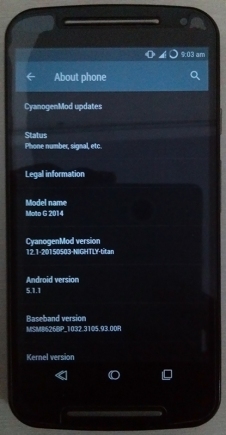
The latest version of CyanogenMod is 12.1 and is based on Lollipop 5.1.1 (as of time of writing this post). Moto G 2014 users can follow the steps provided below to install CyanogenMod on their phone. For other phones users can browse XDA forum for appropriate steps.
Prerequisites
1. Make sure you have a good quality data cable which doesn’t disconnect.
2. Make sure your phone’s battery is fully charged. Do not proceed with a low battery.
3. Make sure you have enabled USB debugging on your phone.
Installing TWRP (skip if you already have this)
Step 1 – Download and install the Minimal ADB & Fastboot installation from here –
http://forum.xda-developers.com/showthread.php?t=2317790
Step 2 – Get the latest TWRP img file for titan (Moto g 2014’s code name) from the official download location and place it in the same folder where you installed Minimal ADB & Fastboot (typically C:\Program Files (x86)\Minimal ADB and Fastboot\). rename this file as TWRP.img –
Step 3 – Connect your phone to PC using USB cable. Open Minimal ADB and Fastboot command prompt from desktop (if you made a shortcut) or from installation location. Type ‘adb devices’ and press enter. If your device is listed that means you have successfully connected your phone.
Step 4 – Type type following commands in sequence –
adb reboot bootloader
fastboot devices
fastboot flash recovery TWRP.img
fastboot reboot
Installing CyanogenMod
Step 1 – Download the latest zip file from here –
http://download.cyanogenmod.org/?device=titan
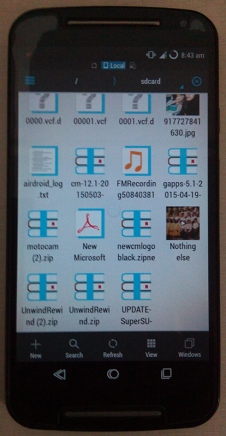
Step 2 – Copy this zip file in the SD card or phone memory.
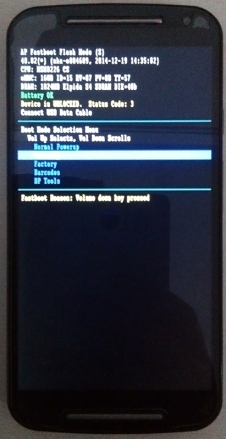
Step 3 – Boot into recovery mode – power off the phone, hold power button and volume down button together for 3 seconds and release the power button. Press volume down key to navigate to ‘recovery’ option and press volume up key to select it. You will now enter TWRP.
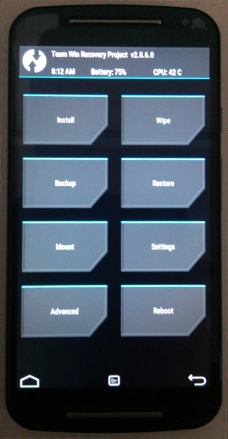
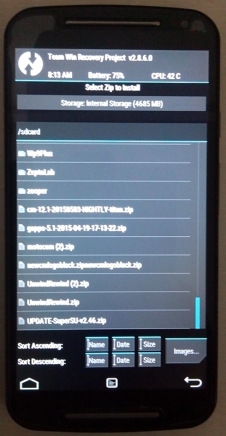
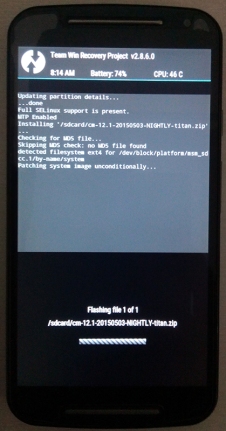
Step 4 – Select Install and select the CyanogenMod zip file you copied in your phone. Swipe the slider at bottom to start flashing the zip file.
Step 5 – Wipe Cache and Dalvik (you’ll see buttons for that in TWRP itself after flashing is complete).
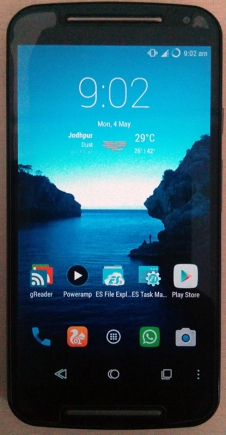
Step 6 – You have successfully flashed CyanogenMod. All that’s left is setup. Now remove the SIM card (VERY IMPORTANT) and restart the phone. You’ll see the Cyanogen logo. The first boot takes time so be patient and don;t worry. You’ll see the familiar “Android is starting… Optimizing apps…” screen. Wait for it to complete. You’ll now see the CM setup wizard. Log in to you Cyanogen account (create one if you don’t already have it).
Step 7 – That’s it. Congratulations, you now have the world’s most used 3rd party Android ROM!
Installing GApps
CyanogenMod installation doesn’t come with Google Apps (GApps for short) pre-installed. You see, CyanogenMod is an open software, promoting freedom in every sense. You get the freedom of choosing whatever ecosystem you want – Google Play, Amazon, or some other store. That’s the fun of open source.
But lets face it, many apps are only available on Play Store and you may be well dependent on some Google service such as Hangout or G+. You can still flash gapps on your phone and get all the default Google Apps back to life. Here’s how to do so –
Step 1 – Download the latest version of gapps from here –
http://wiki.cyanogenmod.org/w/Google_Apps
Step 2 – Copy the zip file in you SD card or phone memory.
Step 3 – Reboot into TWRP recovery (just as you did when flashing CyanogenMod). Select Install, select the GApps zip you just copied and flash it.
Step 4 – Reboot your phone and you’ll be ready to go with all default Google Apps available. IF there is some app that you didn’t find, download it from the Play Store.
Known Issues and Solutions
1. I keep getting “xxx has crashed” or “xxx has stopped working” after I first started the phone.
Solution – I told you to remove the SIM card when starting the device for the first time. Can’t you read the instructions properly?
2. Various sensors like the accelerometer, compass, etc are not working.
Solution – Open CyanogenMod File Manager. go to settings > General Settings > Access Mode and select Prompt User mode. Go to root/data/misc, remove the sensors folder and reboot.
All credit and big thanks goes to XDA members luca020400 and LuK1337 and the whole CM team for creating such a wonderful ROM! You can browse the official XDA thread for latest updates.

