If you’ve been taking photographs for some time then you must have experienced (sad if you haven’t) that buildings or any tall structures near the edges of frame appear leaning. An example of this is a picture I took on a recent trip to Delhi –
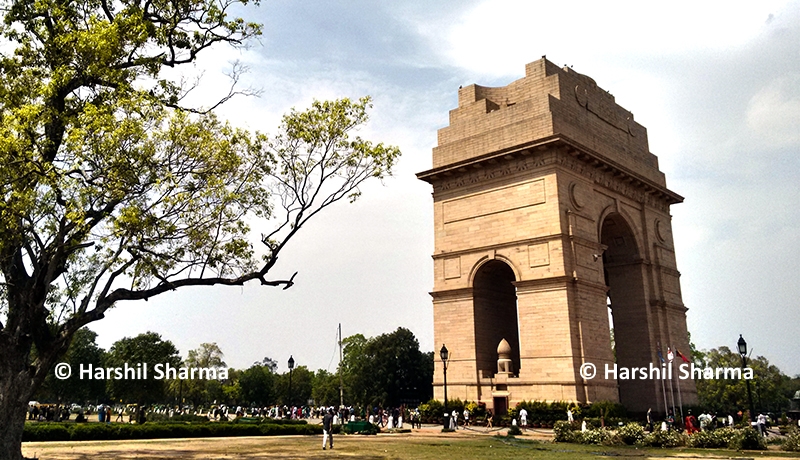
You can see that the India Gate is leaning left by quite some degrees. You can also notice that the part of the building nearer to the right edge is leaning more than the opposite part. This is because of the very reason such leaning happens – lens distortion. Lens distortion causes parts of the image nearer to the lens edges distorted due to the optical qualities of the lens. The farther the object or the wider the field of view, more prominent this effect becomes.
Now lets see how we can fix images affected with this. I’ll be using Adobe Photoshop CC but the same steps should apply to older versions too.
Step 1 – Open your image in Photoshop.
Step 2 – Select Filter -> Camera Raw Filter from the menu bar or press Shift+Ctrl+A.
Step 3 – Switch to Lens Correction tab (6th icon from left) in the right panel. Switch to Manual in the tab that opens below.
Step 4 – Slide the slider labeled Vertical left or right depending on which side is you image leaning. Slide left if your image is leaning left and right if your image is leaning right. Click OK to apply.

The end result after cropping –
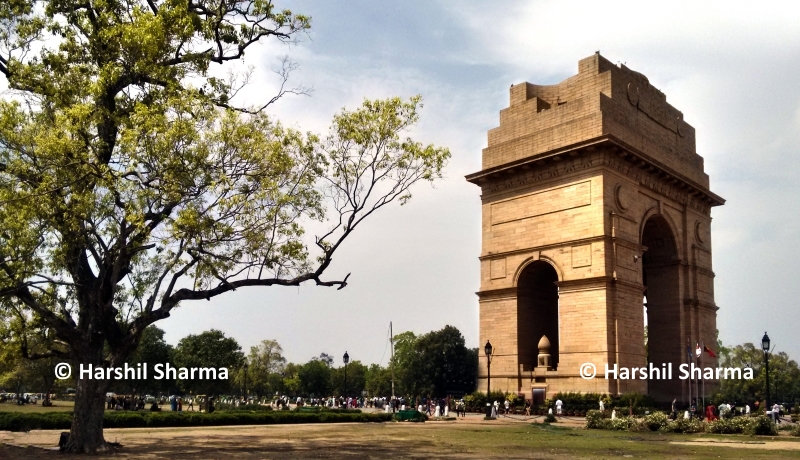
This may leave blank areas in the image. You can either use content aware fill to generate pixels if there isn’t much variations in image or crop those areas out. You may also want to decrease image’s height a bit to compensate for the vertical stretch introduced. You can use Transform (select then press Ctrl+T) for that.

Usefull post there. I had many photos with leaning light poles and buildings and I couldn’t find a tutorial as easy and clear as this. Kudos!
LikeLike